For best
results use 160 g/m² coated paper in A4 format. Print
sheet A to C : they are mandatory to build the model ; sheet
D is optional for details with very small parts. Study each
part and numbering and score precisly folding lines
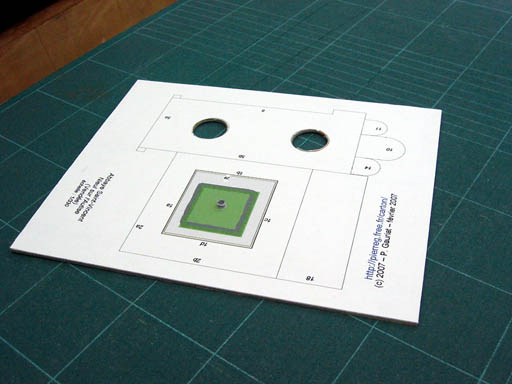
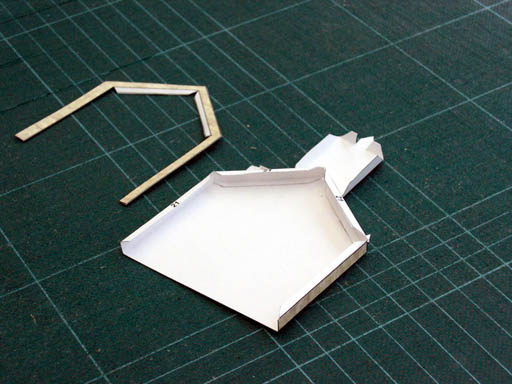
before cutting. Cut (A) along the dotted line and glue
on hard stock to form the building base. Circular holes are
for access under roof to help some gluing steps
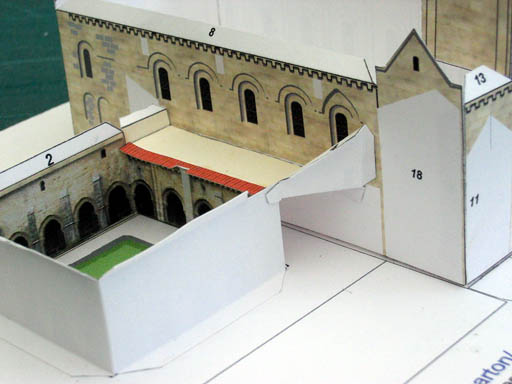
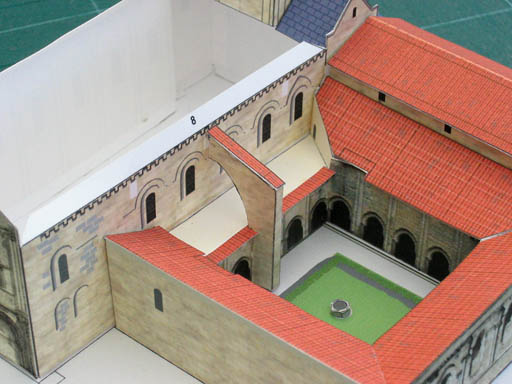
later. Form and
glue part 31 (the well) on the cloister green: it will be
more difficult after! Glue the
part 1 to form the inner side of cloister. Carefully glue
part 3 (terrace) along the edge of part 1 being sur to
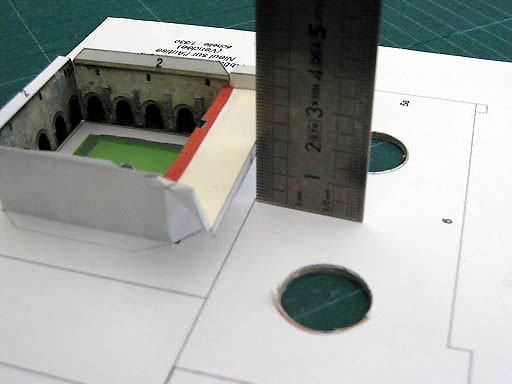
maintain terrace surface horizontal. Glue in place 3a on 3
half stradling the edge. Glue the set
on the base checking well balanced verticality between part
3 (tab marked 5) and the line 5b on the base (south wall of
the nave). To prepare
the church (nave and transept), cut out and glue together
parts 5 and 6. Cut out part 7 and glue on 6 to form all the
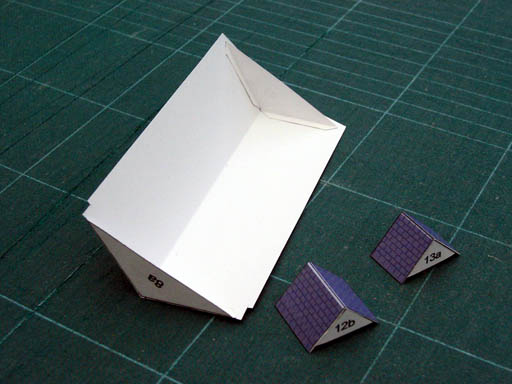
tower base. Prepare nave
roof gluing parts 8a and 8b just at each end to reinforce
part 8. Prepare the two transept small roofs 12 and 13 in
the same manner with 12a, 12b and 13a, 13b. This parts are
in fact tabs for gluing roofs on part 5-6. Glue the
church on the base against part 3. Check carefully alignment
and horizontality of terrace 3. Cut out and
fold part 2 (Outside cloister walls and roof). Assemble and
glue roofs together straight parts 2a and 2b. Glue it on
base and to parts 2 and 3 (inside and cloister terrace).
Don't forget to glue a tab to part 5. Glue roof 19
in place on building 18. For test before gluing, place roofs
12 and 13 checking alignment of roofing and the
vertical alignment of the tower between. Place the part 13
without glue and glue in place part 12. It is the
more difficult step in the model assembly. Glue in place
the part 13. Carefully check and move parts, if necessary,
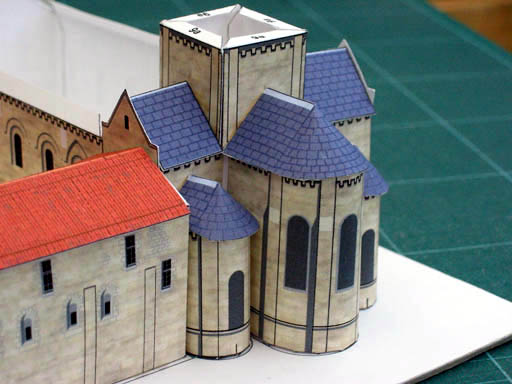
before the glue drying. Place and
glue part 10 (apse) after rounding them. Make the same with
parts 11 and 14 (absidiole). Don't glue the nave roof 8
to maintain the transept wall during gluing. Form parts
28, 29 and 30 (buttress). Place them gluing each one against
the nave wall and on roof or green. Glue tiles (parts 28a,
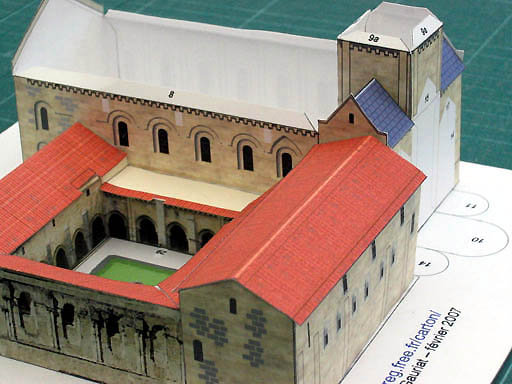
29a, 30a) on the top of each buttress. Mount in
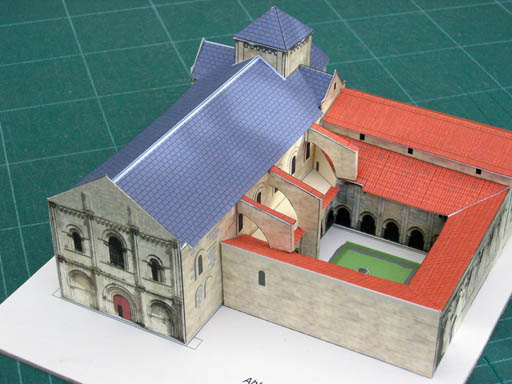
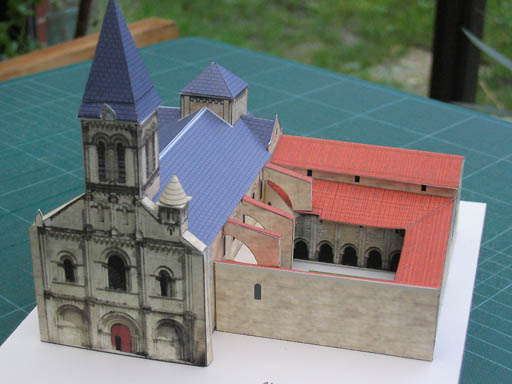
place and glue roof 8 and roof 9 of the small tower. Now,
you have in front of you the roman building before
restoration of XIXe century. If you will all the present
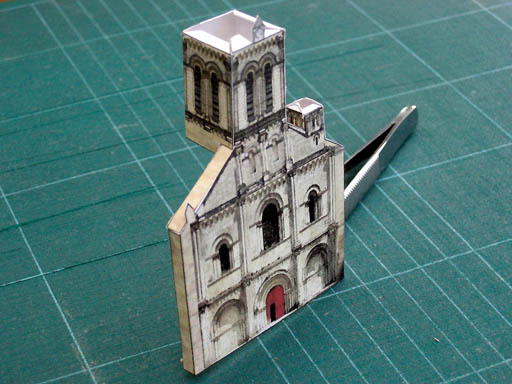
building, continue with the next step. To have the
choice between present and past before restoration, the XIXe
clock-tower is designed as a movable part. He is build
separatly with parts 20 to 27. After
folding, glue parts 22 and 25. Check the flatness of the new
facade. Place and glue bases 23 and 26 to receive
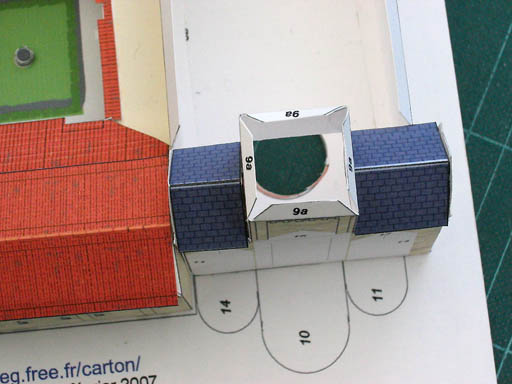
roofs. The
clock-tower's roof is in two parts. Form and glue part 24
checking the square base. Form and glue part 24a. After
driying glue together parts 24 and 24a : check vertical
alignment. Roll the
small roof 27 and glue on base 26. Glue the set 24/24a on
base 23. The XIXth century clock-tower is finished. It is
you choice to place it on the roman facade. For small
details print sheet (D). Cut out, score and glue all the
cross-parts before cutting crosses. Cut out each cross after
drying. Buttress are
very small parts. So butt gluing is better along the wall.
Just fold upper and lower tabs. After folding a buttress
butt glue it against the wall and glue the lower tab on the
base. After driyng you can fold and glue carefully the upper
tab. Enjoy : its
finished!
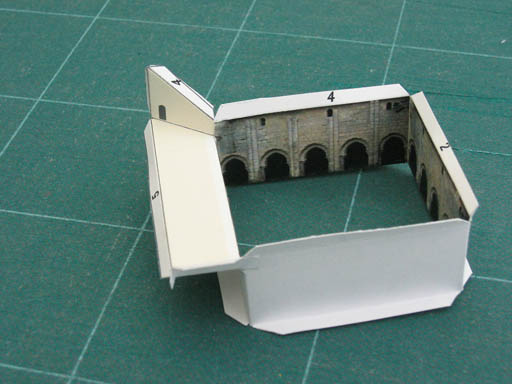

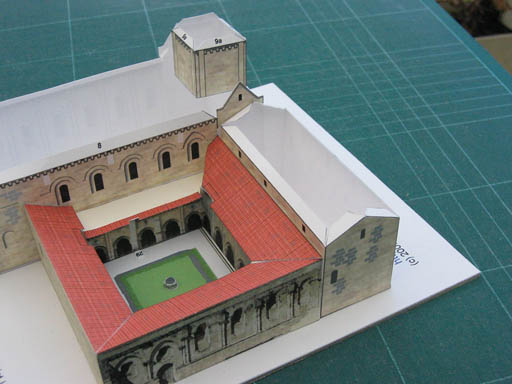
Glue the roof 4 in place: respect the overhanging of the
roof on the cloister wall.
Cut out and assemble the rectangular building 18 (salle
capitulaire). Glue it on the base and carefully against
parts 5, 4 and 2. Verify alignment of south walls (parts 2
and 18).
Cut out and roll roofs 15,16 and 17. Glue and place checking
level of roofing.
Cut out part 20 and score tabs. Glue along edges and add in
place the part 21. Tabs on part 21 are only slightly scored
: they are used to stick the clock-tower in place on the
roman facade.
Updated March, 4
2007
© 1999-2007 - P. Gauriat